

Mini Egg Icebox Cake

This week, I decided to do some “Spring Cleaning” in my fridge, and in the process, discovered an unopened bag of mini eggs. While my stomach told me to run to the pantry (or any corner of the house where my kids can’t see me) and devour them in one sitting, my heart told me I should probably share them. Well, I’m happy to report that I followed my heart, and not only did I share them with my kids, but I’ll be sharing them with all of you (in recipe form). That’s right, the recipe I’m sharing today is a take on my mom’s traditional Cocoa Dusted Icebox Cake, with the addition of crushed mini eggs on top.
“WTF is icebox cake?” I’ll explain. Icebox cake is basically a no-bake cake, made with layers of either graham crackers, cookies, or wafers, and whipped cream and/or frosting and/or other mix-ins. The layers are assembled in a baking dish, but instead of getting put in the oven, it goes into the refrigerator overnight. The moister from the whipped cream (or frosting) then softens up the graham crackers, etc. to mock beautiful, delectable ribbons of cake. The reason it’s called icebox cake, is because before refrigerators existed, iceboxes were used. This dates back to the early 1900’s, in which a chest filled with blocks of ice kept perishables, including layered desserts.
For this particular cake, I used (mostly) organic ingredients (minus the mini-eggs). Each layer consists of Pamela’s gluten free graham crackers, slightly sweetened whipped cream, and cocoa powder. However, you can alter this to your convenience and/or preference(s) if need be.
Mini Egg Ice-box Cake
Ingredients:
. 4 packs graham crackers
. 2 cups whipping cream
. 2 tbsp powdered sugar
. 1/4 tsp cocoa powder (plus more for layering)
. 2 tsp vanilla extract
. 1/4 tsp salt
. 1 bag crushed mini eggs (optional)
Utensils:
. metal mixing bowl (chilled)
. hand mixer (or mixer of choice)
. 9 x 13 baking dish
Directions:
Chill metal bowl in the freezer for at least half an hour. Once ready, pour in whipping cream and whip on med-low speed until light and fluffy. AVOID over-whipping.


Next, sift in powdered sugar and cocoa powder, followed by salt and vanilla. Whip on med-low speed until mixture slightly thickens. Again, AVOID over-whipping. You want your consistency to be smooth, but not super stiff and/or glossy.


Layer graham crackers and whipped cream in baking dish to make a total of 4 layers, smoothing each with a spatula, and topping with a dust of sifted cocoa powder. I used about 1/2 a teaspoon of cocoa powder per layer. Feel free to use more or less, depending on your preference.
Note, I highly recommend applying a thin layer of whipped cream in the bottom of the baking dish, prior to the first layer of graham crackers. This will help the crackers to stick, allowing for an overall smoother assembly.


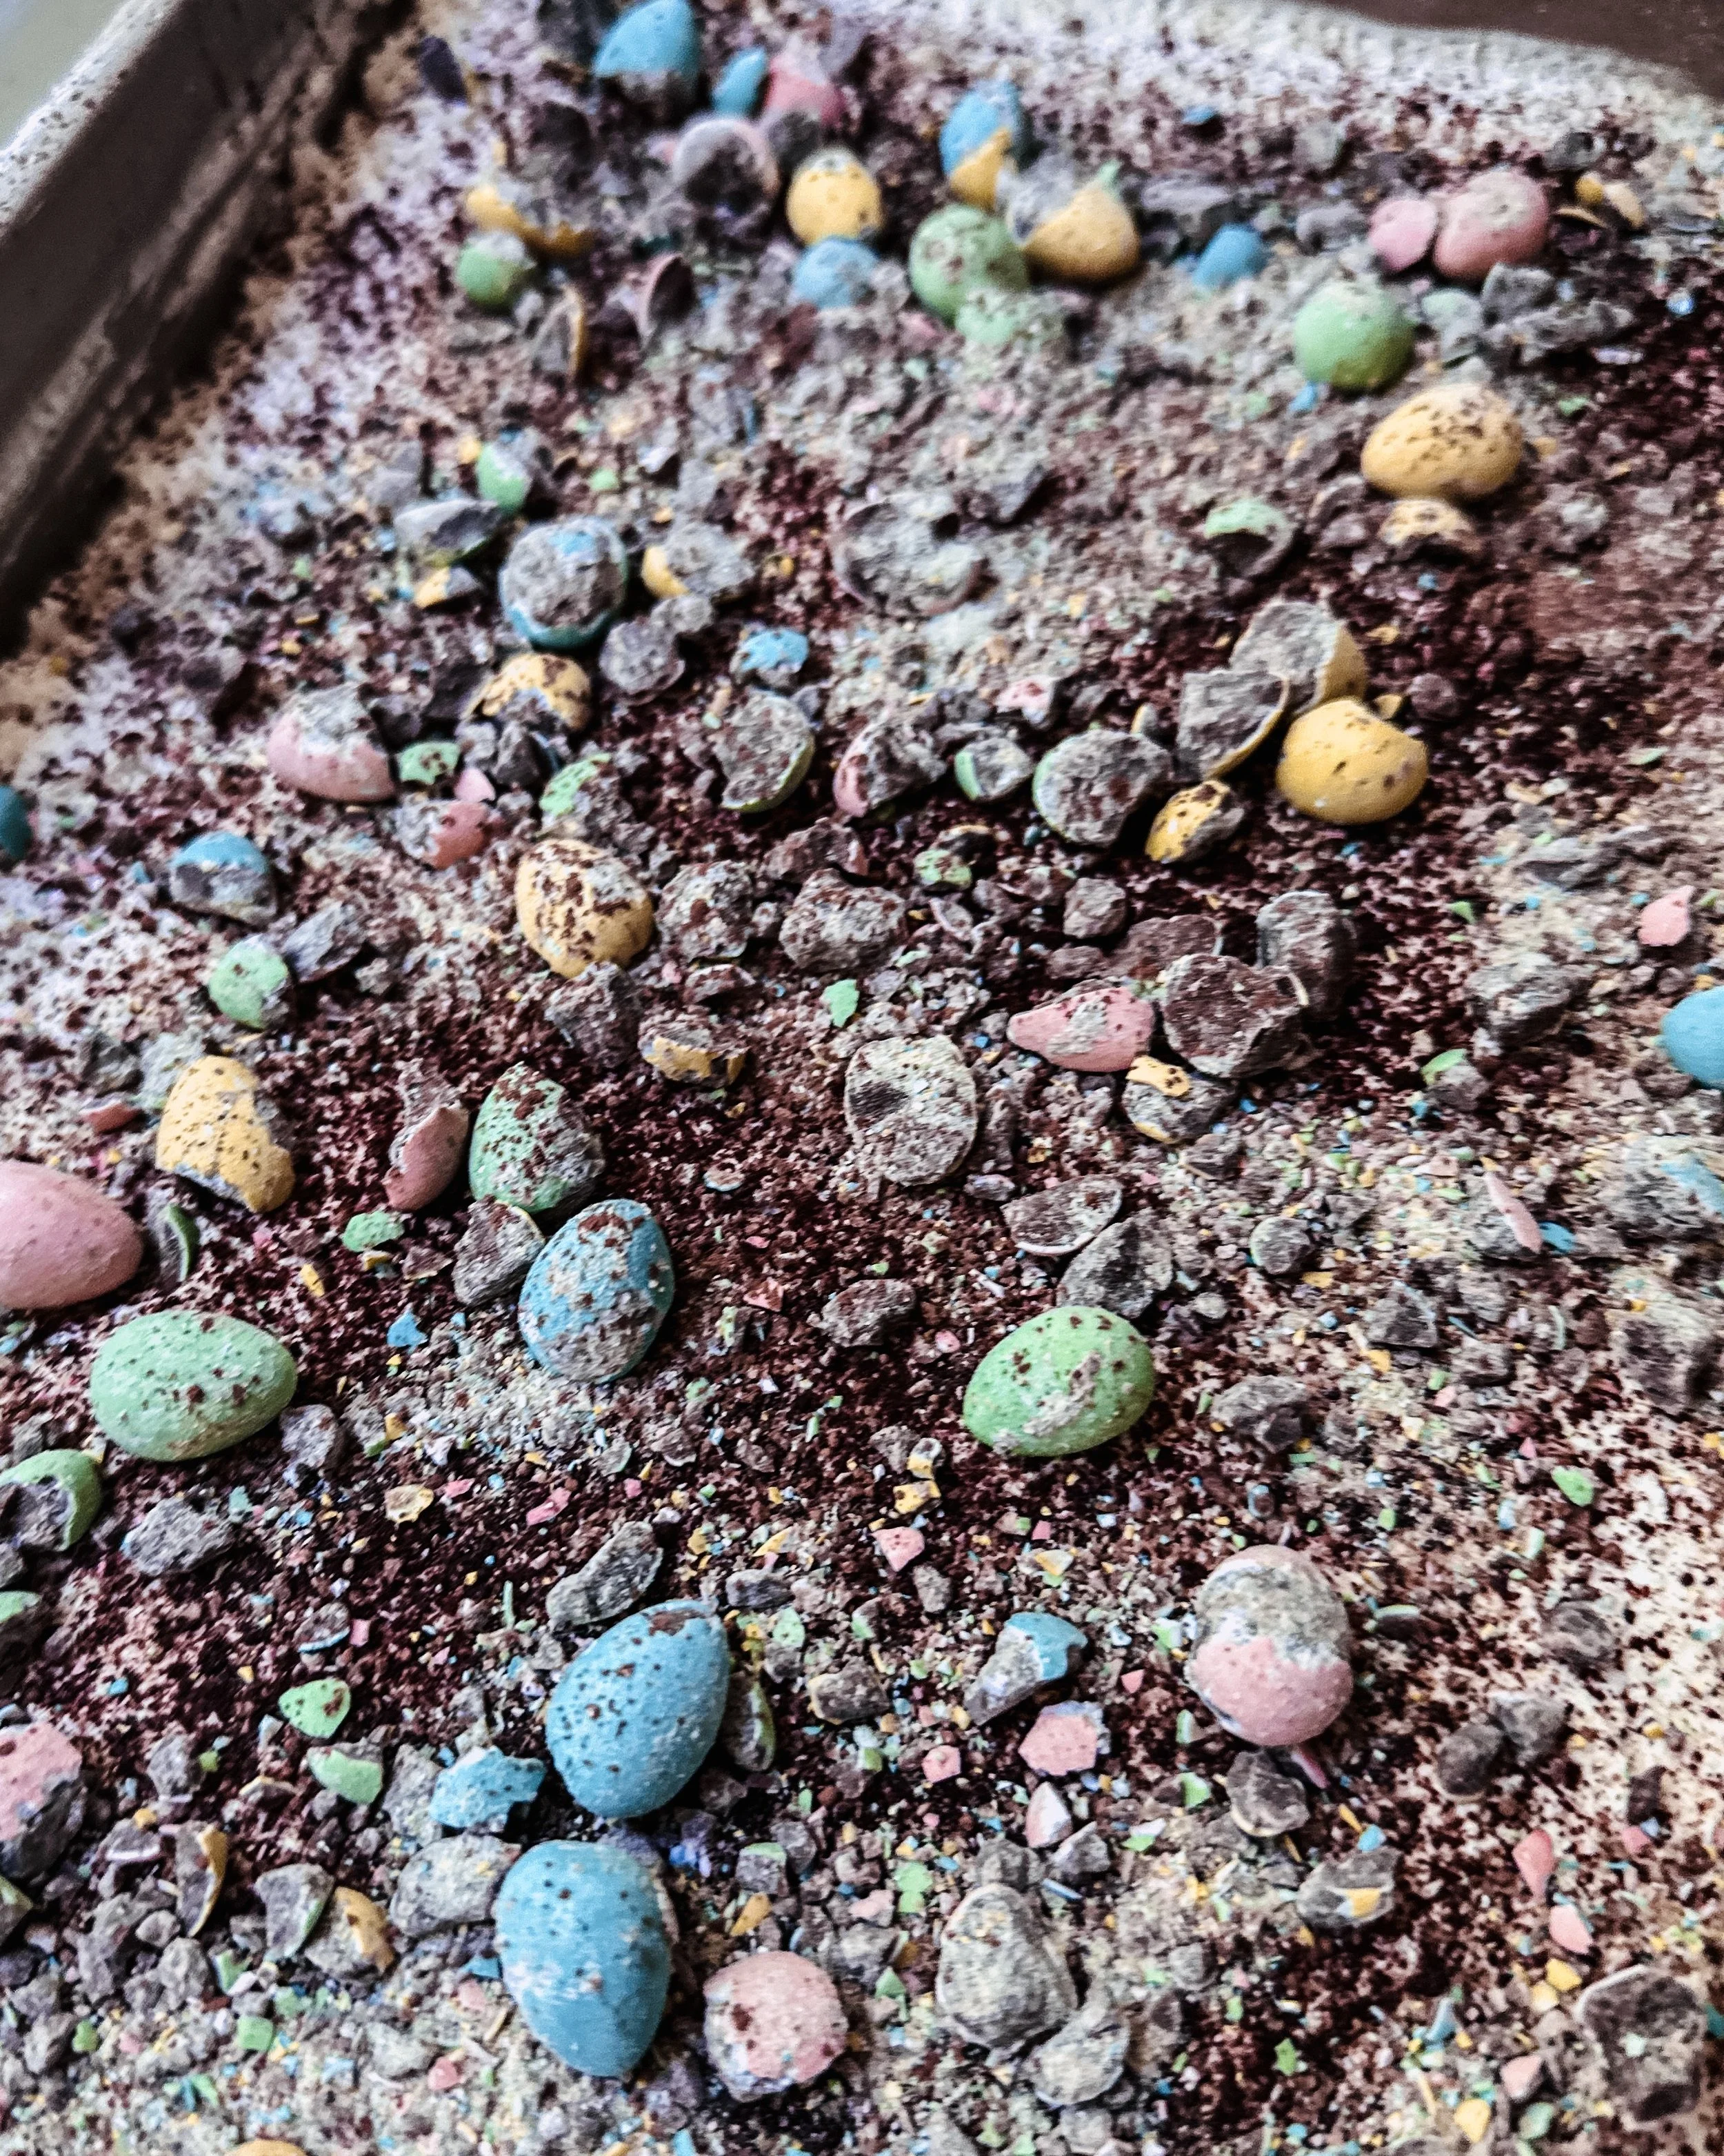
For additional flavour, texture, and chocolatey goodness, crush some leftover mini-eggs with a mortar and pestle and sprinkle on top. If you don’t have any mini eggs, but still want to be a little extra, you can top with any kind of chocolate morsels you have kicking around.
Cover and chill overnight.

Slice and serve with beverage of choice. I paired mine with a single serve hot cocoa (to be featured on my next blog post).
Cake can be stored in fridge for up to 4 days and/or freezer for up to 2 months.

Hope you all enjoyed this recipe! For a more visual step-by-step, check the latest on my IG @haveyour.c.a.k.e
Xoxo