DIY Night Light(s) — Mason Jar Upcycle
Christmas Eve is here, but let’s be honest, I’ve pretty much been celebrating since November. Even still, there never seems to be enough time to enjoy all the festive lights and decorations. This year, we certainly went all out. My mother-in-law even surprised our girls by decorating their room with all kinds of coloured Christmas lights and it looks so magical! I know as soon as the New Year arrives, I won’t have the heart to take their Christmas lights down right away, but I also don’t want to be THAT person who leaves Christmas lights up all year round, even if it’s just in their room. Sorry, not going to happen. I love the holiday season, but not that much. I did, however, figure out a way to enjoy some of the lights all year round without it looking like Christmas in July…
As I looked around the girls’ room, thinking of ideas, a few light bulbs went off. No, literally — my youngest had pulled off an entire strip of the warm white curtain lights I previously put up. That’s when I remembered the extra fairy lights I had, tucked away in the closet. After pulling them out, I immediately went searching for a Mason Jar or 2 to contain the lights. If you know me, I use Mason Jars for e v e r y t h i n g , so they weren’t too difficult to find in the house. In less than 5 minutes, I created an upcycled, decorative night light for the girls’ room and I loved it so much, I decided to make one for our room as well. The best part — we don’t have to take these lights down when Christmas is over. Plus, my kids needed a new nightlight, so this worked out perfectly, and the materials were ridiculously simple to come across.
Things you will need:
. an empty (Mason) jar
. 1 pack of fairy lights
. 2 AA batteries
What to do:
Look around your house for a jar. If you don’t think you have one, believe me, you do, you just need to look harder. Search the cupboards, closets, and fridge. I used some mason jars from a previous canning season, but you can use any kind of jar you want.
If needed, wash, rinse, and dry your jar.
Unravel 1 pack of fairy lights and shape them into a circle. I got some warm white ones from Welk’s on main, but you can find them almost anywhere, especially this time of year.
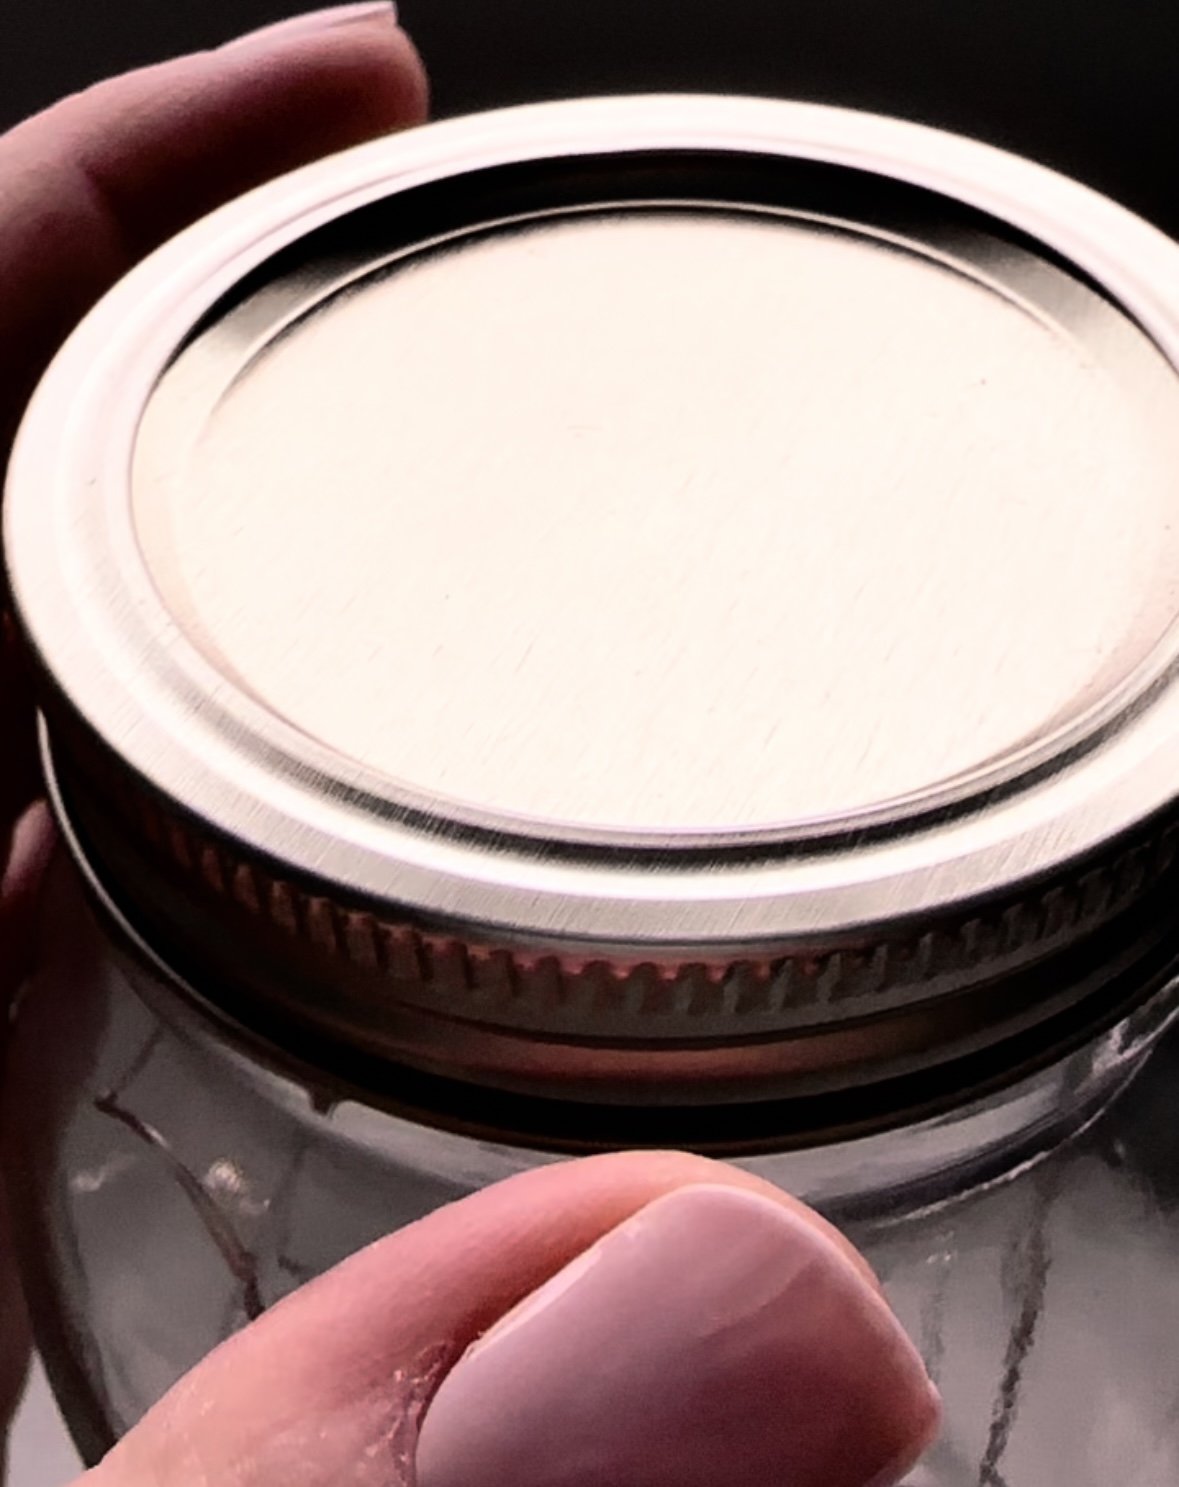
Arrange your lights in the jar how you would like them, then assemble the lid. Note, it’s best to keep the main cord with the battery pack on the outside of the jar for easier access to the light switch. It also just looks way nicer that way.
Find a place to put your jar, then add your batteries, turn on the switch, and watch it light up like magic!
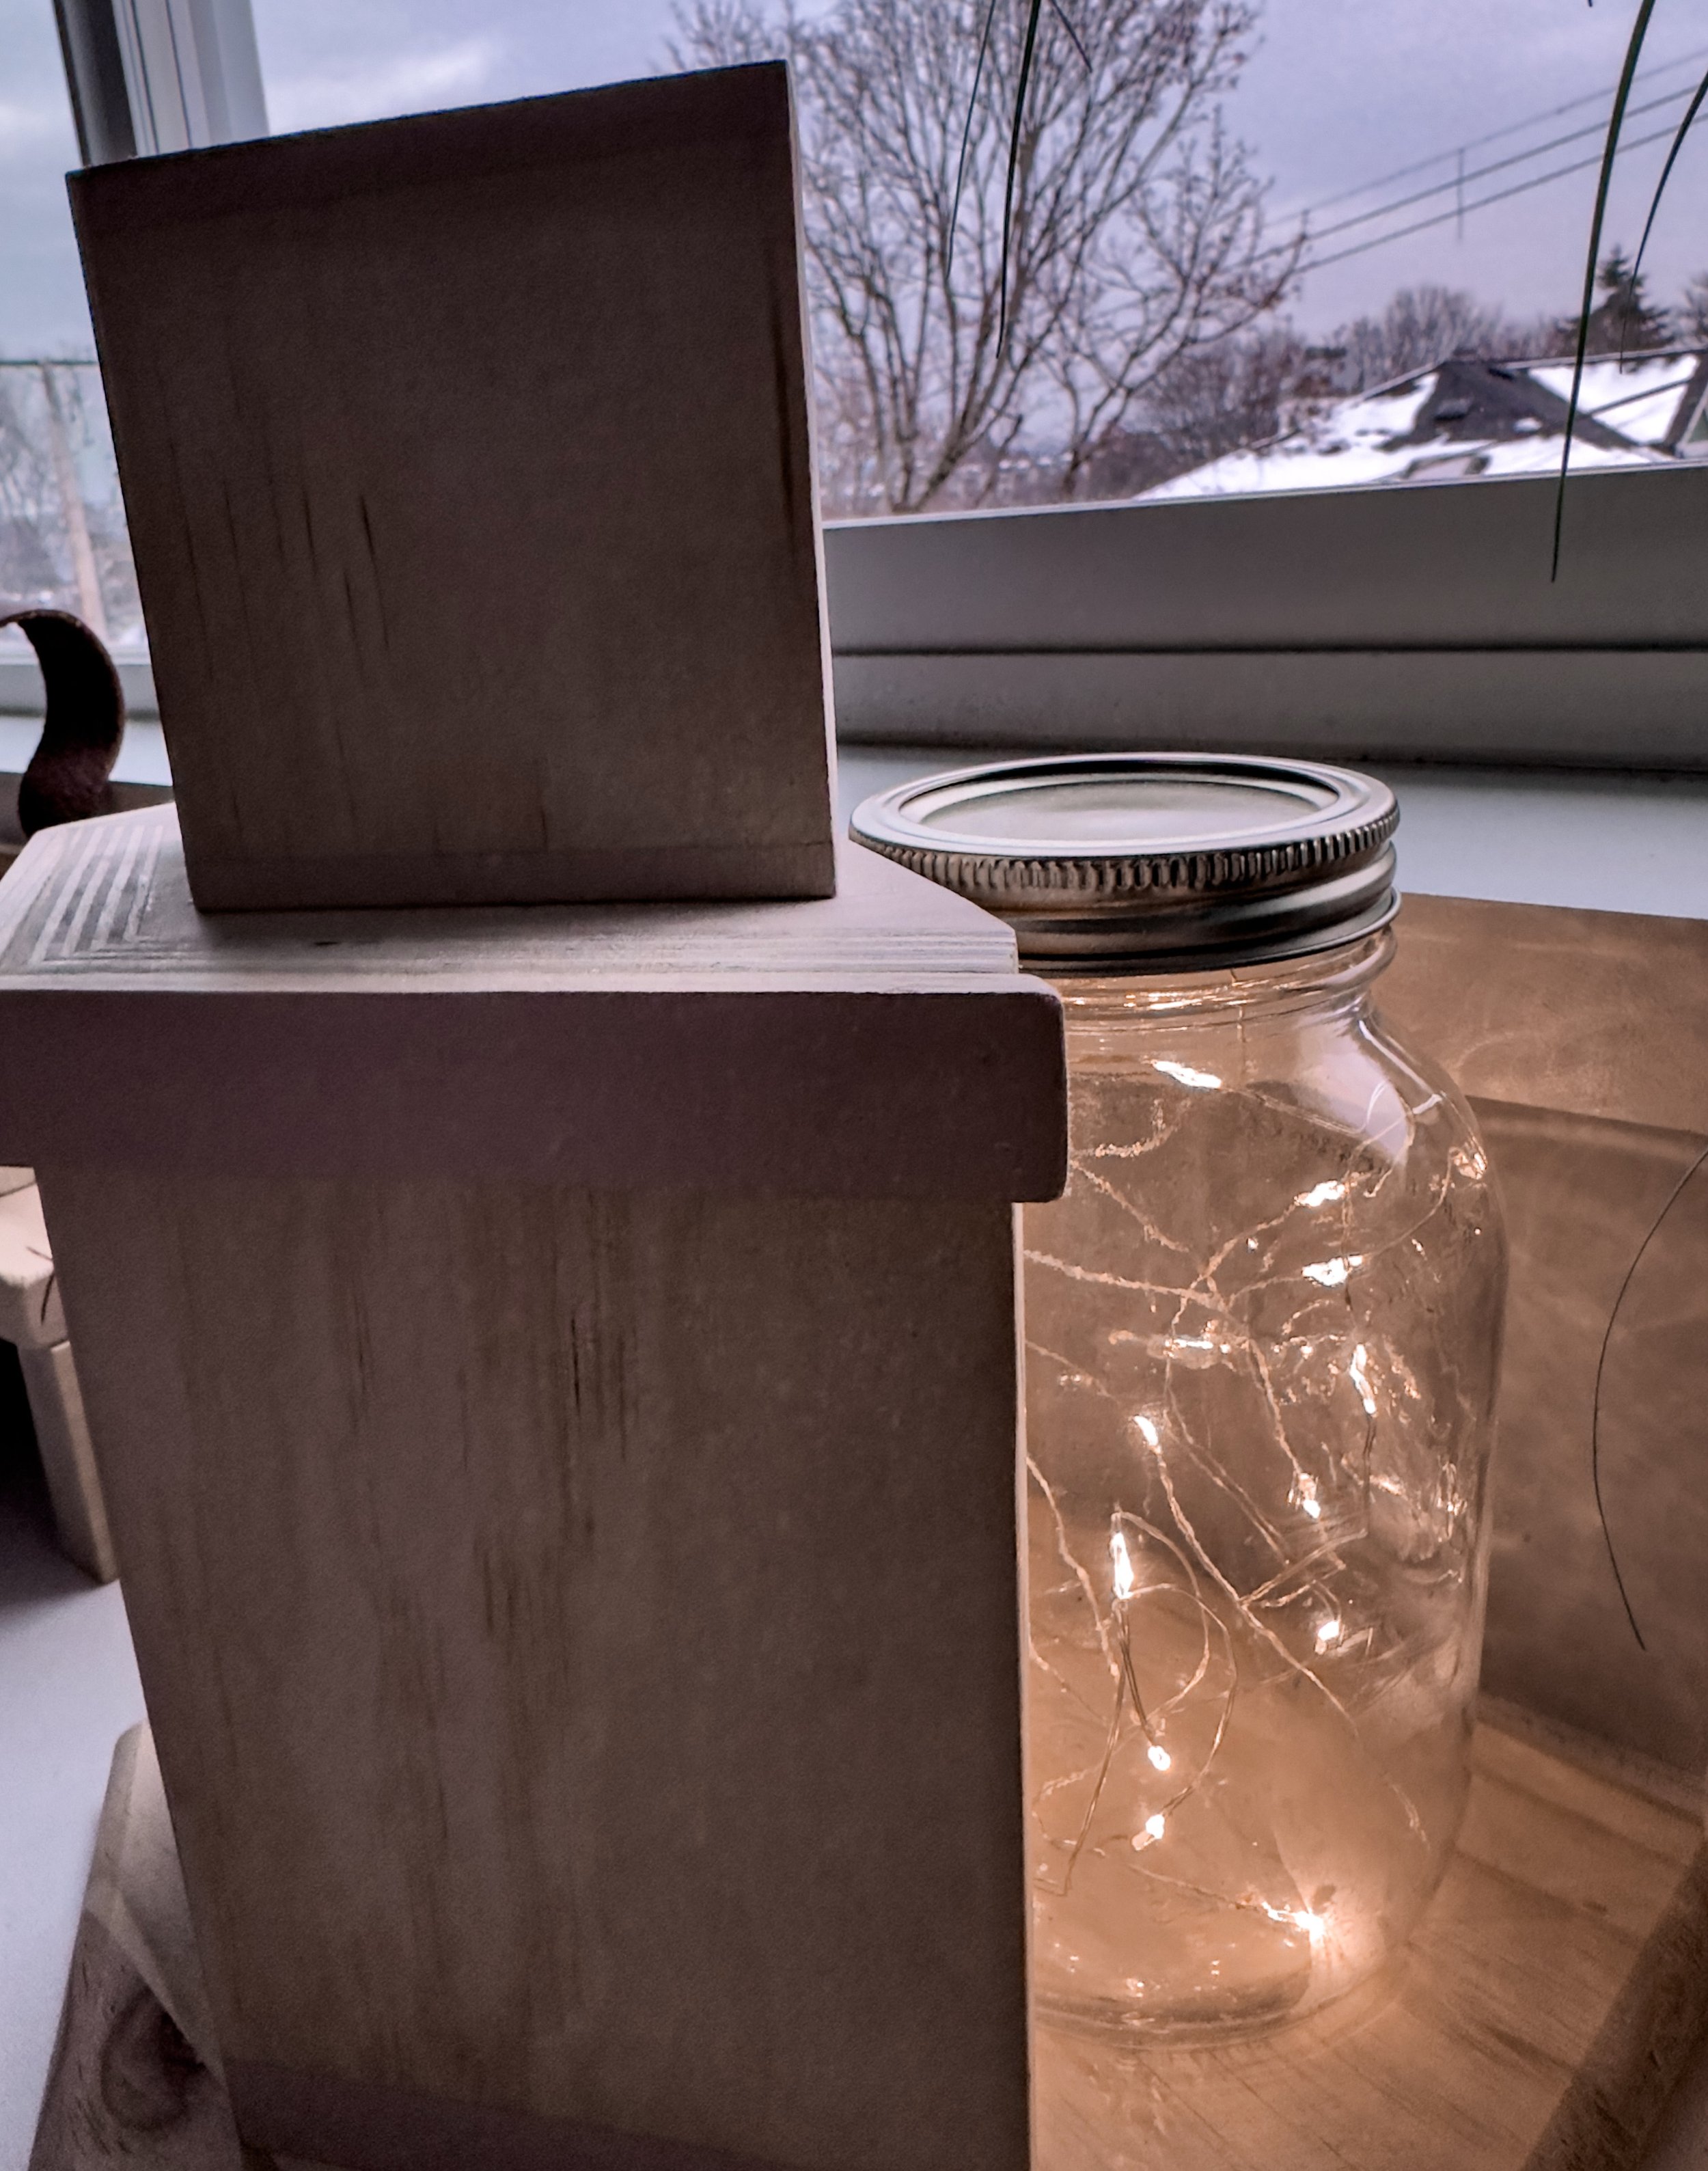
I placed the first jar in the girls’ room on the window sill. Pictured below is what it looks like during the day and at night.
Just as the sun was going down, I placed the second jar on the shelf in our room, next to some glass decor and a large plant. The soft lights make the room so much cozier (as you can see).
That’s literally all there is to it. This project is so simple, it’s almost silly I wrote an entire blog post about it. Anyway, I hope you all enjoy the rest of the holiday season!
Xoxo


